This isn't an indepth post of tips, but rather a couple of thoughts I had while doing some ruler work over the last few days.
 |
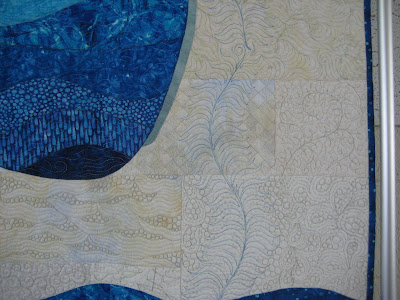
| A customer quilt! |
Rulers
My hands down favorites are the Fine Line Rulers from Accents in Design. These rulers have non-slip grip built into the bottom of the ruler and pegs on the top to help with grip.
While rulers can be spendy, having a wide assortment of sizes and shapes are important when it comes to doing anything with curves. Certain size piecing or blocks just need an appropriate sized ruler.
Pressure
Apply consistent pressure, but not too hard downward or the quilt will be hard to move.
Make sure the tips of at least one or two fingers of the hand holding the ruler are off the ruler and on the fabric so the ruler and quilt move as one.
Wearing grippy gloves or finger cot things will help hold everything securely.
Movement
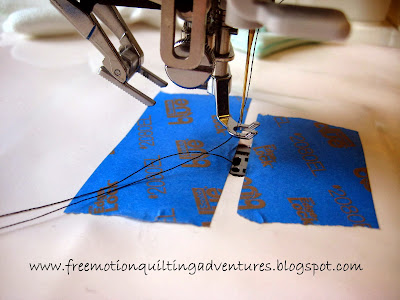
Watch out for dips and uneven spots around the bed of the machine that may cause the ruler to wobble. (Like the edge of the stitch plate.)
Make sure the ruler doesn't drift away from the foot, but don't push too hard against the ruler toe.
Watch out for bulky seam allowances that will interfere with the smooth motion of your ruler and quilt. They can act almost like a brake against the foot.
Make sure there's no fabric bunched up against the needle when you place the ruler against the toe, but don't apply tension pulling the fabric too much. Just keep it nice and flat, but not taut.
Spacing
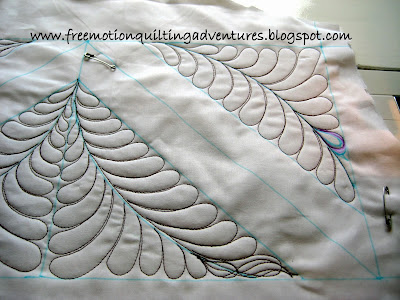
There's a bit of a distortion as you look through the acrylic of the ruler and the line etched on the bottom. Don't get to picky about this, but just try to stay consistant with where you line up the marks on the ruler on the previous line of stitching.
Don't be overly concerned with perfectly spaced lines! When you are quilting with your eyes a mere 6-12 inches away and the top is bunched up, it can look horrible. But make sure before you rip stitches that it's really necessary.
Visibility
You need
If you use black thread on a black fabric you may go blind or cross-eyed before the project is done.
Sometimes it may be easier to see where the line of stitching isn't than where it is.


